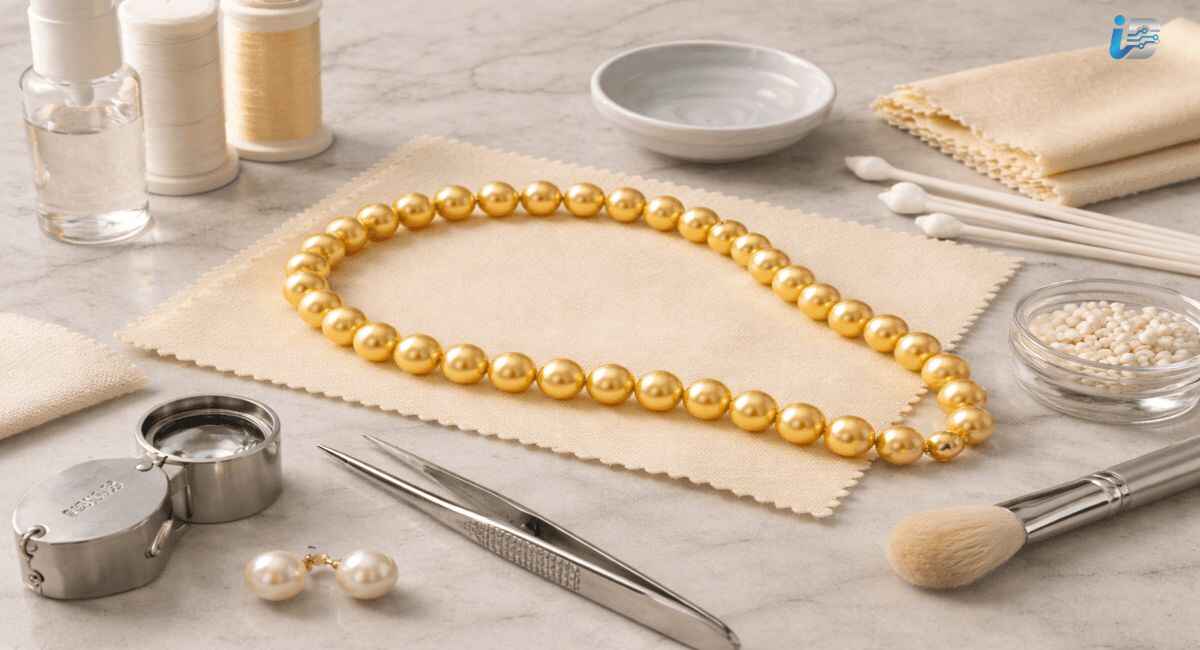
Quick Answer: The safest way to fix a loose pearl is to remove the old adhesive, clean the post and pearl hole, apply a slow-curing two-part jeweler’s epoxy, and let it cure fully for 24–72 hours before wearing the piece again. Avoid regular super glue on fine pearls — it’s brittle and can cloud the nacre.
That sinking feeling when a pearl pops off your earring post or slides out of its ring setting is universal. Before reaching for whatever adhesive sits under the sink, it helps to understand exactly why pearls come loose and what actually holds them in place long-term. Gluing pearls is a genuinely doable DIY fix in most cases — but the wrong glue, or skipping the prep work, is how a five-minute repair turns into a lost or cracked pearl. This guide covers the diagnostic step most competing guides skip, a full glue comparison, and a repair process built around jewelry restoration standards rather than guesswork.
Why Pearls Come Loose in the First Place
Most pearl jewelry — studs, pendants, and many rings — shares one basic structure: the pearl has a small drilled hole, and it sits over a metal post, peg, or cup setting held with a dab of adhesive. That bond is a deliberate weak point, since pearls can’t be soldered or clamped the way a precious metal or gemstone can. Daily wear, skin oil buildup, humidity, and the occasional snag on a scarf slowly break the bond down.
Freshwater pearls, Akoya pearls, Tahitian pearls, and other cultured pearls are genuinely soft — around 2.5 to 3 on the Mohs hardness scale, close to a fingernail. That fragility, tied to thin nacre layers, is exactly why aggressive cleaning and harsh jewelry adhesives often cause more lasting damage than the original loose pearl ever did.
Glue Problem or Setting Problem? Diagnose Before You Repair
This diagnostic step is the one nearly every competing guide skips, and it’s what actually determines whether gluing pearls yourself is a good idea. Gently check the metal prong, basket, or pearl setting the pearl sits in — if it’s bent, cracked, or loose from the rest of the piece, adhesive alone will not hold. You’ll lose the pearl again within days no matter how good the glue is.
If the metal setting is structurally sound and only the adhesive bond has failed, you’re in solid DIY territory. This distinction matters most for heirloom jewelry, vintage jewelry, and antique jewelry, where a weakened setting under stress can eventually snap a prong entirely — a job for a bench jeweler or goldsmith, not a tube of epoxy.
Choosing the Right Glue for Pearls
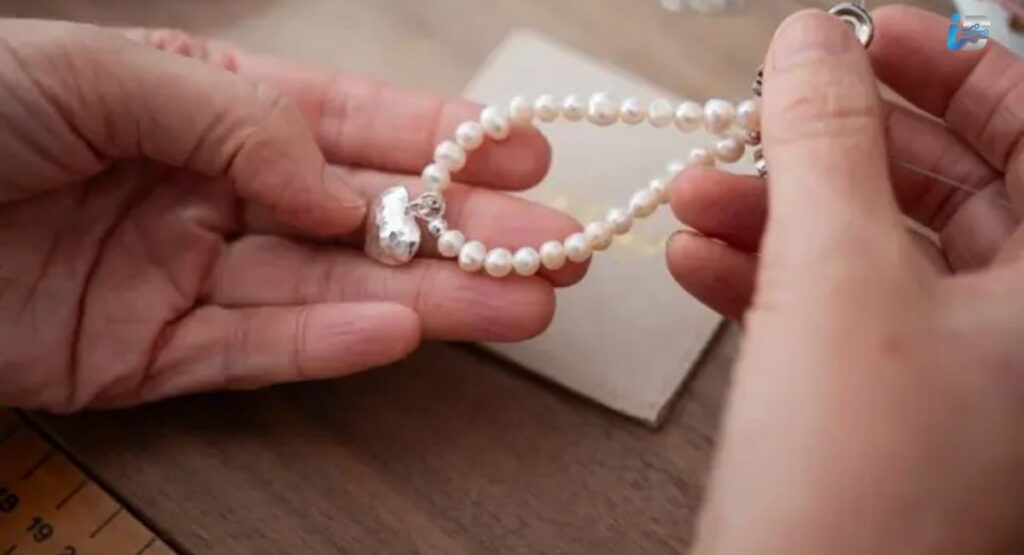
Not every jewelry glue behaves the same way on a soft, organic nacre surface, and this is where most DIY jewelry repair attempts go wrong. Below is how the main adhesive options compare for pearl mounting and pearl setting repair:
| Adhesive | Best For | Cure Time | Pros | Cons |
| Two-part jeweler’s epoxy | Rings, pendants, high-wear pieces | 12–72 hrs | Strongest, most water-resistant adhesive bond | Needs precise mixing, longer wait |
| Cyanoacrylate super glue | Quick temporary fixes only | Minutes | Fast, cheap, widely available | Brittle bond, can fog pearls with vapor residue |
| Jeweler’s cement (GS Hypo Cement) | Fine work, small studs, thread ends | 1–24 hrs | Precise applicator tip, flexible bond strength | Some find it too brittle for daily wear |
| E6000 craft-grade adhesive | Costume or faux pearl jewelry | 24 hrs | Flexible, inexpensive | Not ideal for fine jewelry or valuable pearls |
| UV-cure resin | Hobbyist jewelry making | Seconds under UV light | Instant set, clear finish | Needs a UV lamp, less proven long-term |
Most bench jewelers and experienced goldsmiths land on slow-curing epoxy resin as the standard for genuine pearl jewelry, because it resists the vibration and moisture resistance failures that make cyanoacrylate glue bonds fail early. If you only remember one rule from this pearl glue comparison, it’s this: durability beats speed every time.
Real Pearls vs. Faux Pearls: Why the Adhesive Matters
Genuine pearls and imitation pearls are not interchangeable when choosing glue for pearls. A real, drilled pearl has a naturally organic surface that bonds well with jeweler’s epoxy and reacts poorly to solvent-heavy cyanoacrylate vapors, which can leave a cloudy residue across the pearl luster.
Faux pearls — glass pearls, shell pearls, or resin beads coated to mimic real ones — are more forgiving and tolerate craft glue like E6000 without the same clouding risk. If you’re unsure which type you own, treat it as a genuine pearl and use the gentler jeweler’s cement or two-part epoxy rather than risking super glue on something irreplaceable.
How to Glue Pearls Back Onto a Post or Peg (Step-by-Step)
Follow this sequence for a lasting pearl earring repair, pearl ring repair, or pearl pendant repair — it’s built around the same order a bench jeweler would use for jewelry restoration:
- Remove old glue first. Use a wooden toothpick or plastic tool — never metal, which scratches — to gently chip away the yellowed adhesive residue from the pearl hole and the post. Go slowly; rushing this step is the top cause of a cracked pearl.
- Clean both surfaces. Wipe the post and pearl hole with a cotton swab dipped in isopropyl alcohol to strip skin oils and dust — adhesive won’t grip over residue.
- Mix your epoxy. For two-part jeweler’s epoxy, dab equal amounts of each part onto scrap cardboard and blend briefly with a toothpick applicator.
- Apply sparingly. Place a small amount inside the drilled hole and a thin layer around the post or peg base. Overapplying is the second-most common mistake, causing squeeze-out onto the visible pearl.
- Seat and hold. Push the pearl fully onto the post, twist gently once for even adhesive distribution, then hold firm pressure through the glue’s set time.
- Let it fully cure. Leave the piece untouched for the complete cure time — often 24 to 72 hours for epoxy. Set time and cure time are different, and confusing them is where most repairs fail.
Repairing a Pearl on a Necklace or Bracelet Strand
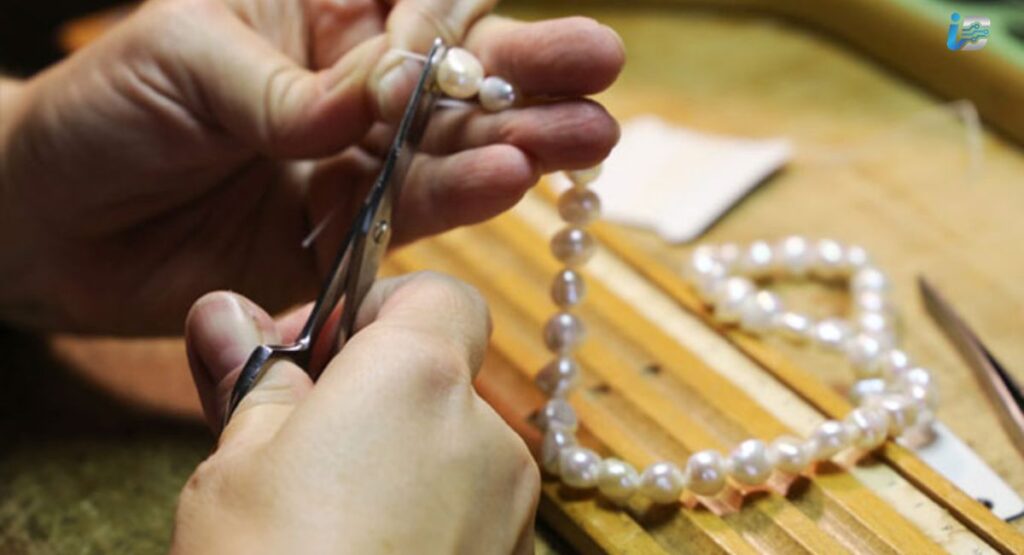
A pearl loose from a pearl strand needs a different fix than a stud or ring pearl, because most fine pearl necklaces are individually knotted on silk thread rather than glued. If a pearl has slipped or a pearl knot has failed, restringing with fresh silk and hand-knotted pearls between each bead is correct — glue can seep into the hole and discolor a pearl from the inside over time.
If your pearl bracelet or necklace instead uses a glued clasp end or a glued pendant bail, the same two-part epoxy method above applies. Unsure whether your strand is knotted or glued? Visible knots between pearls mean it’s a restringing job, not a gluing pearls job.
Common Mistakes That Ruin a Pearl Repair
Using regular super glue on fine pearl jewelry is the most frequent error, since it looks like the fastest fix. Cyanoacrylate forms a brittle bond that snaps under normal wear and can leave a permanent white haze on the pearl from curing vapors — a cosmetic problem that usually can’t be reversed.
Wearing the piece before the cure time is complete is the second-biggest cause of repeat repairs. A ring that “feels set” after five minutes can still have a liquid bond underneath; showering, exercising, or ordinary hand movement within the first day is often enough to break it loose again.
How to Care for Glued Pearl Jewelry Afterward
Once your repair has fully cured, a short jewelry care routine protects both the bond strength and the pearl itself. Put pearl jewelry on last — after perfume, lotion, and hairspray — and remove it first, since those products are the fastest way to degrade adhesive and luster over time.
Avoid ultrasonic cleaners, steam cleaners, and chemical jewelry dips entirely on pearl jewelry; the vibration and chemicals attack both the glue joint and the soft nacre layer. A gentle wipe with a soft, damp jewelry cleaning cloth after each wear covers routine pearl maintenance, and jewelry safe storage away from other pieces prevents scratching.
DIY vs. Professional Pearl Repair: Cost and Risk
A basic DIY pearl repair costs very little — a small tube of two-part epoxy or jeweler’s cement runs a few dollars and handles multiple future repairs. Professional jewelry repair for one re-glued pearl typically costs modestly more at a local jeweler, with turnaround often measured in days versus the roughly 24–72 hour home cure.
The math shifts fast for anything of real value: pieces worth a jewelry appraisal, antique jewelry, or custom jewelry with an unusual pearl setting are worth the professional fee, since a failed DIY attempt on a jewelry warranty-covered or insured piece can cost more to fix afterward than the original repair would have.
FaQs
Can you use super glue on pearls?
Technically yes, but most bench jewelers advise against it — cyanoacrylate is brittle and can leave a cloudy residue on the pearl’s surface.
What is the best glue for pearls?
A slow-curing two-part jeweler’s epoxy is the top choice — it’s the strongest and most water-resistant bond for genuine pearls.
What kind of glue is used for pearl jewelry?
Professionals mainly use two-part epoxy or jeweler’s cement (like GS Hypo Cement); regular super glue is generally avoided.
Can I super glue a pearl?
You can, but it’s not recommended — cyanoacrylate super glue is brittle and can leave a cloudy residue on the pearl over time.
What is the best glue for pearls to stick to glass?
A clear-drying E6000 adhesive or UV-cure resin works best for pearl-to-glass bonds, since both stay flexible and dry transparent.
What is the strongest glue for jewellery?
Two-part jeweler’s epoxy is considered the strongest and most durable option for general jewelry repair.
How to attach pearls to jewelry?
Clean the pearl hole and metal post, apply a small amount of two-part epoxy inside the hole and around the post, then hold in place until set.
How to use pearl glue?
Mix or dispense a small amount onto the post and inside the drilled hole, seat the pearl, hold briefly, then leave it untouched for the full cure time before wearing.
Why is pearl not allowed in a wedding?
It’s a folklore-based superstition, not a rule — old English and European traditions linked pearls to tears, believing they’d bring sorrow to a marriage.
How much does a 1 pearl cost?
Prices vary widely: a single freshwater pearl can run just a few dollars, while a fine Akoya, Tahitian, or South Sea pearl can cost hundreds to thousands.
Which glue is best for sticking beads?
E6000 or a two-part epoxy both work well for general bead adhesion, depending on the bead material and how much flexibility you need.
How do I glue a pearl back on my ring?
Remove old glue residue, clean the post and pearl hole, apply two-part epoxy sparingly, seat the pearl, and let it cure fully for 24–72 hours before wearing.
What is the best glue for pearls reddit?
Reddit and jewelry-forum consensus consistently favors two-part epoxy over super glue, citing better long-term durability and less cloudiness.
Who cannot wear pearls?
This is an astrology-based belief, not a universal rule — in Vedic astrology, pearls are sometimes discouraged for people whose birth chart places the Moon unfavorably.
Are pearls out of style in 2026?
No — pearls are one of the biggest jewelry trends of 2026, showing up in chokers, baroque styles, and mixed-metal designs.
When not to wear pearls?
Avoid wearing them while swimming, showering, exercising, or applying perfume and hairspray, since moisture and chemicals damage the nacre and any adhesive bonds.
What’s the best glue for pearl earrings?
A slow-curing two-part jeweler’s epoxy or a jeweler’s cement like GS Hypo Cement, depending on how much precision the pearl earring repair needs.
How long does pearl glue take to fully cure?
Most epoxy resin products need 24 to 72 hours to fully cure, even though they may feel “set” within minutes — the set time is not the cure time.
Why did my glued pearl come loose again?
Usually the piece was worn before the cure time finished, or the underlying metal setting was already loose or bent before the repair.
Can I glue a pearl back on myself, or do I need a jeweler?
If the pearl setting is intact and only the adhesive bond failed, a careful DIY repair works well; if the setting itself is damaged, see a professional jeweler first.
Conclusion
Gluing pearls back into place is one of the more approachable jewelry repairs you can do at home, as long as you diagnose the pearl setting first, choose jeweler’s epoxy over quick-fix super glue, and respect the full cure time before wearing the piece again. Get those three things

Welcome to Infoz Style I am Karl Braun ,an Ai – powered SEO , and Content Writer With 4 Years of experience. I help Websites Rank higher , grow traffic , and look amazing . My goal is to make SEO and Web design simple and effective for everyone.
Let`s achieve more together !